I’ve finally completed two useable armies over 5 months. So I was incredibly keen to actually play actual Napoleonics. My first opponent was a guy who has played a lot of Warhammer but never historicals. Somehow, I’d managed to find someone newer to the genre than me. He is French though, so army choice was straightforward. For my first time playing Napoleonics, I chose Lasalle, almost purely on the basis that a whole lot of Flames of War players I’d known had been really into the first edition. That meant it probably had the right mix of playability and detail for me, and would also provide a format where you could design an army list then ‘take all comers’ on pre-defined scenarios.
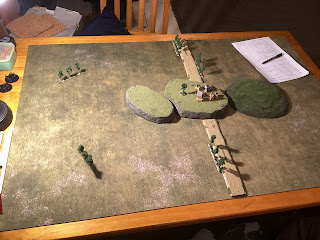
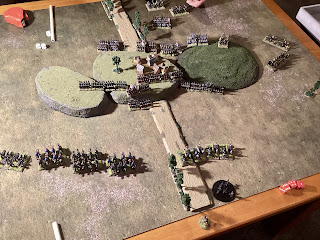
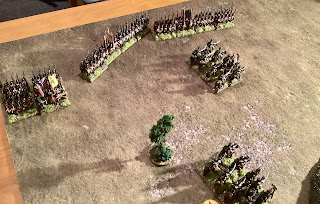
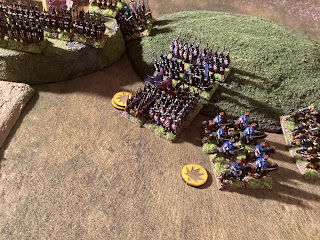
The cavalry threat had also prompted me to put my right most unit of the first infantry brigade (The Blackwatch) into square. Not a great situation given a battalion of the elite 13th Legere was marching in attack column to support the attempt to turn my flank. I
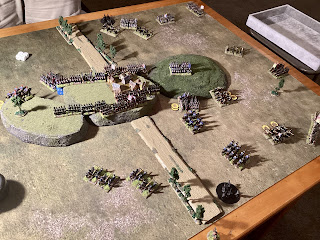
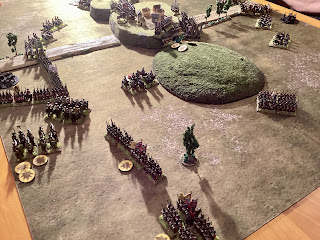
Since my reserves were there to shore up the defence, I continued the plan to get light cavalry and horse artillery round that left flank. Right on cue, their first target of the day - French infantry in March column all lined up for the horse artillery to hit then bounce through to French artillery behind. However, my artillery still completely failed to perform. I was consistently winning the skirmisher war when the French reserve infantry arrived to my right on the enemy backline. Even with the increased numbers, the French screen kept being driven back. At the same time, my own backline was becoming chaotic and my infantry reserves were not having the best of the contest with the enemy cavalry.
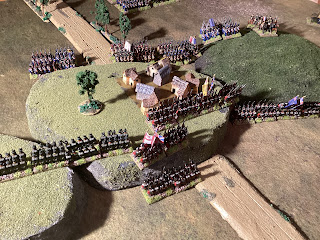
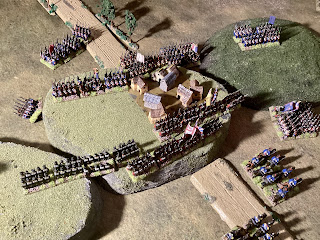
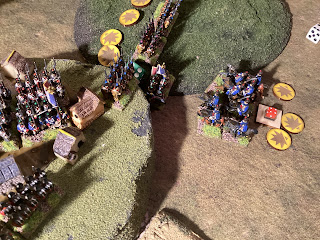
The Blackwatch, sitting pinned in square by marauding French Hussars was punished by accurate musket fire from the 13th Legere as they marched toward them in attack column. My own Hussars attempted to drive their counterparts back but the melee was inconclusive. The Blackwatch broke, as did another of my line battalions and just like that the French had me halfway to my breakpoint.
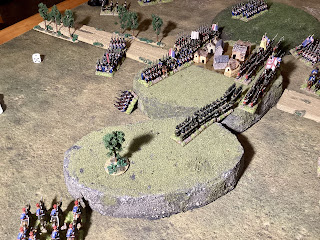
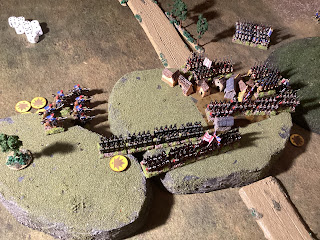
In the centre, and on my left, things were going better. My horse artillery had been blown to pieces by the French grand-battery but my other Hussar ran down a battalion of the 13th Legere. The French reserves were a concern though. So the Gordon Highlanders got the job of occupying that village. Since my skirmishers were providing extra MO (command points) I used my general to do an emergency formation change to occupy it. This was not in the plan but I was getting worried the French would just end up using the village to pin down my centre until the reserves swamped me.
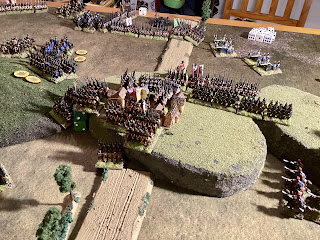
I saw success there, not through tactical skill but through weight of numbers as I brought down a battalion of the 13th Legere and a unit of Hussars. However, disaster immediately struck my centre as a French attack column smashed into the village. This immediately broke the Veteran Gordon Highlanders. The one ray of hope was that while the French reserves had now all arrived, they were still uncommitted and the French army was likewise only two battalions from breaking.
It looked like dusk was falling. Through the lengthening shadows, the lead elements of the French reserve approached. I maintained my advantage in the skirmishing phase and so had the initiative and momentum (MO) to spend. I rallied the cavalry and made ready for the last throw of the dice.
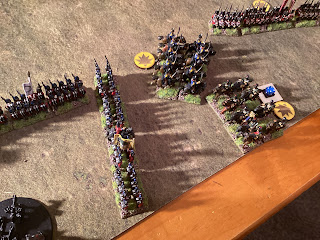
The final push did not begin well. Hanoverian musketry was ineffectual and the result of the follow up charge by the 13th light Dragoons was yet another inconclusive melee.
My other Hussar unit tried to overcome the French line facing them but had become too disordered. They were broken in a vicious close quarters fight on the hillside. Faced with such heavy losses, we ceded Noordkerk to the French and retired.
—————————————————————
Thoughts after our first game:
The French commander had fun. Looks like he’ll will add another game to his repertoire and enjoyed it so much he might even try commanding the British. I’m concerned that some skills may be transferable between Warhammer and Lasalle.
The command system, including the abstracted skirmishing, seem like the right amount of detail for now. Winning the skirmishing phase gives a little more momentum (MO), which are the command points for the game. So a small advantage. The amount of MO you get each turn seemed about right. Not so few that I wasn’t willing to give up 1d3 to have my General issue an emergency formation change but not so many that you can afford to split all your units up and complicate things too much.
A key part of this game is that you can execute a chain of actions without being forced to turn the initiative over to your opponent. That all changes if you issue orders within 4 basewidths. So sometimes it’s alternating activations and sometimes almost IGO UGO. Being within 4 basewidths of the Enemy also slows units right down. Your opponent can redeploy their unengaged units rapidly. This stops everything being about a grind in the middle where the only way forward is luck or eking out local advantages.
Writing this, I’m reminded of what it was like to try Flames of War V1. You can see that ‘telescoping ground scale’, and the movement in the game this allows, with Lasalle. Does this t means that there will be people looking at the game thinking the unit footprint just looks wrong?
Our game was almost entirely decided away from the ‘main clash’ in the middle. I’m just sad to report my opponent made better use of his opportunities than I did.
Thanks for reading
—————————————————
Anglo-Allied Army reserves British 5th division
First Brigade
Veterans 20
Highlanders (Vet) 20
Highlanders (Vet) 20
Field artillery 10
Field artillery 10 (army)
95th Rifles 23 (army)
Second Brigade (in reserve)
Conscripts 17
Conscripts 17
Highlanders (Vet) 20
5th Hanoverian (in reserve)
Landwehr 10
Landwehr 10
Landwehr 10
5th Cavalry
Light Cavalry (Hussars) 17
Light Cavalry (Hussars) 17
Light Cavalry (Light Dragoons) 17
Horse Artillery 12 (army)
L'Armée du Nord (100 days) 1st Corps 2nd Division
1st Brigade.
1er, 2e & 3e Battalions 13th Legre
Elite (Legere) 20
Elite (Legere) 20
Elite (Legere) 20
1er & 2e Battalions Ligne
Conscript (Ligne) 16
Conscript (Ligne) 16
Foot Battery 12
2nd Brigade (in reserve)
1er, 2e & 3e Battalions
Conscript (Ligne) 16
Conscript (Ligne) 16
Conscript (Ligne) 16
7e Régiment de Hussards
Light Cavalry 17
Light Cavalry 17
4e Régiment de Chevaux-légers (in reserve)
Lancers 18
Lancers 18
Grand battery
Foot Battery 12 (army reserves)
Heavy battery 14 (army reserves)
Heavy battery 14 (army reserves)






Lasalle is a marvellous set of rules and you do it justice - good to see it married up with Epic scale so early on with nicely painted figs. I am painting mine for Blucher - but it will take a while!
ReplyDeleteCheers Sparker. One day I may try Blucher
Delete